 Mail
Mail
 Messages
 Office
 Notes
Notes
 Meet
Meet


Setup your Accounts
In the following steps you will add your server resources for CalDAV (Calendar) and CardDAV (Contacts) to your Nextcloud.
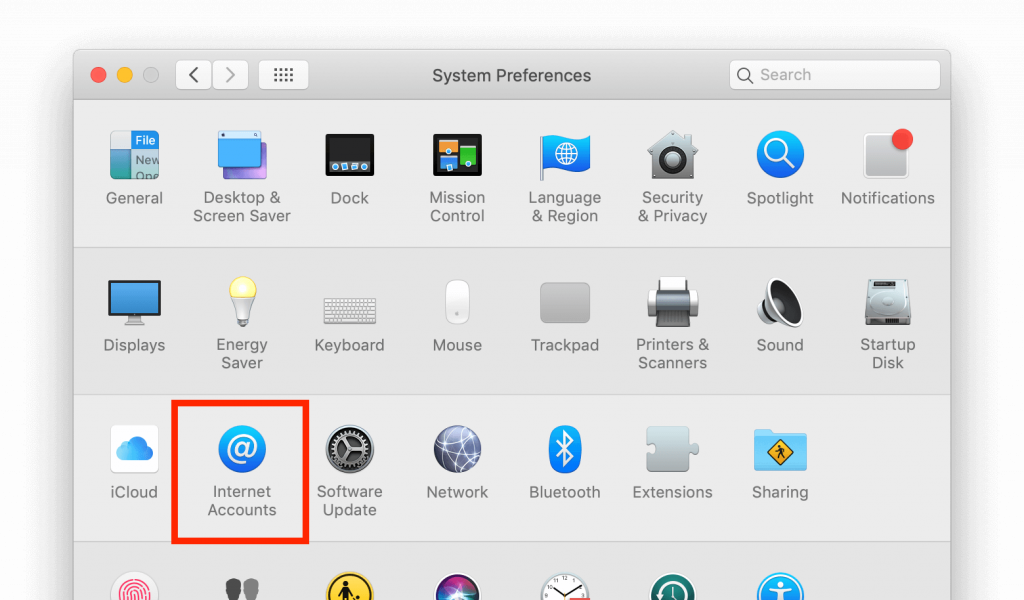
- Open the system preferences of your macOS device
- Navigate to Internet Accounts
- Click on Add Other Account… and click on CalDAV Account for Calendar or CardDAV Accountfor Contacts.
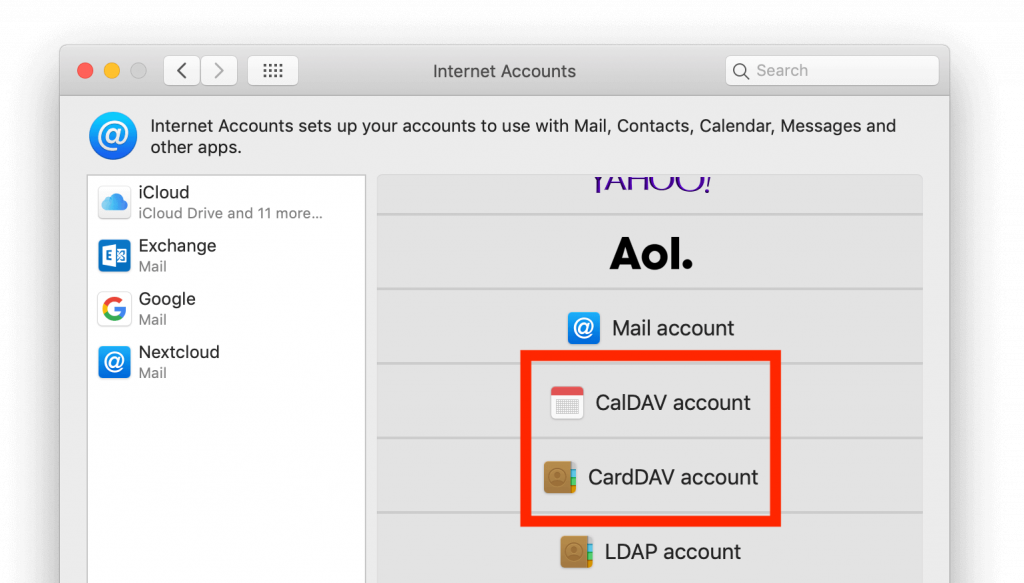
You can not setup Calendar/Contacts together. You need to setup them in separate accounts.
- Select Advanced as Account-Type and type in your respective credentials:Username: Your Nextcloud username or email Password: Your generated App-password/tokenServer Address: URL of your Nextcloud server (e.g. https://example.collective.tools) Server Path:/remote.php/dav/principals/users/[your_username] Port: 443 Use SSL: Yes
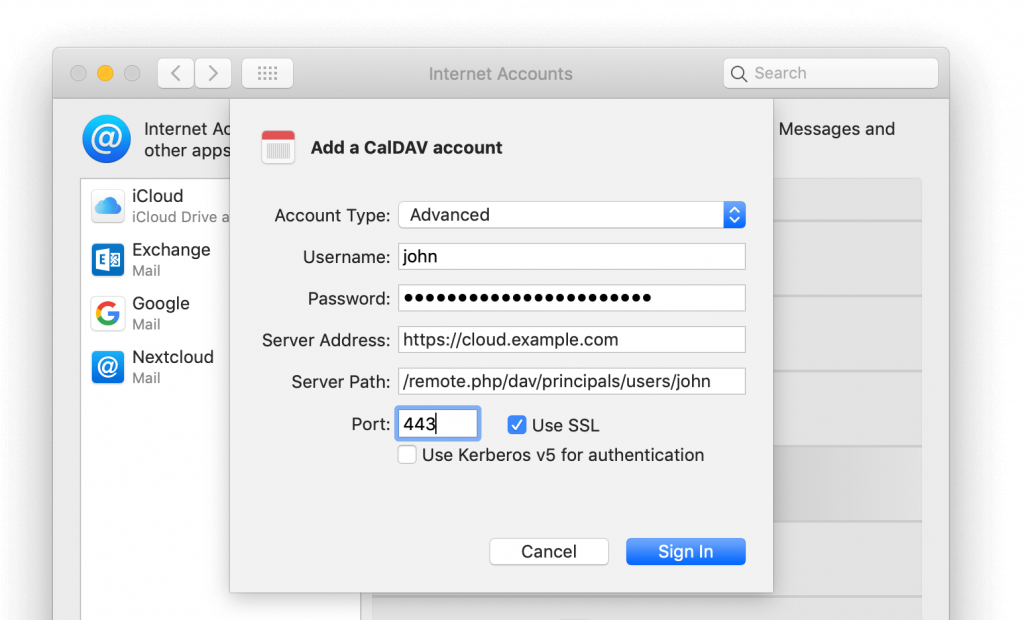
- Click on Sign In.
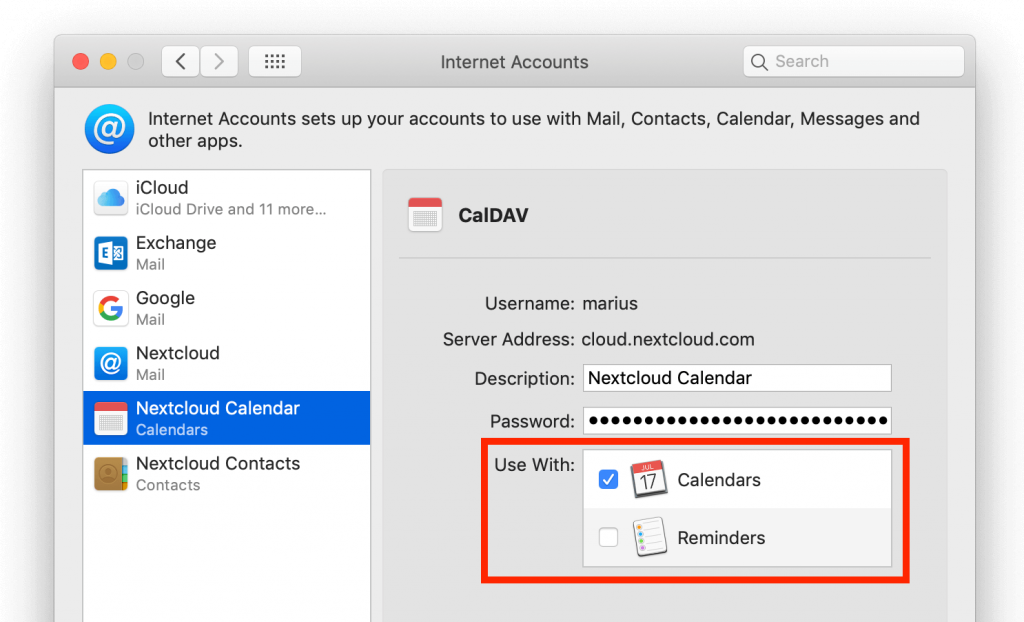
For CalDAV (Calendar): You can now select, with which applications you want to use this resource. In the most cases, this will be the “Calendar” application, sometimes you may also want to use it for your Tasks and reminders.
Source: Synchronizing with macOS by Nextcloud GmbH is licenced under CC BY 3.0.